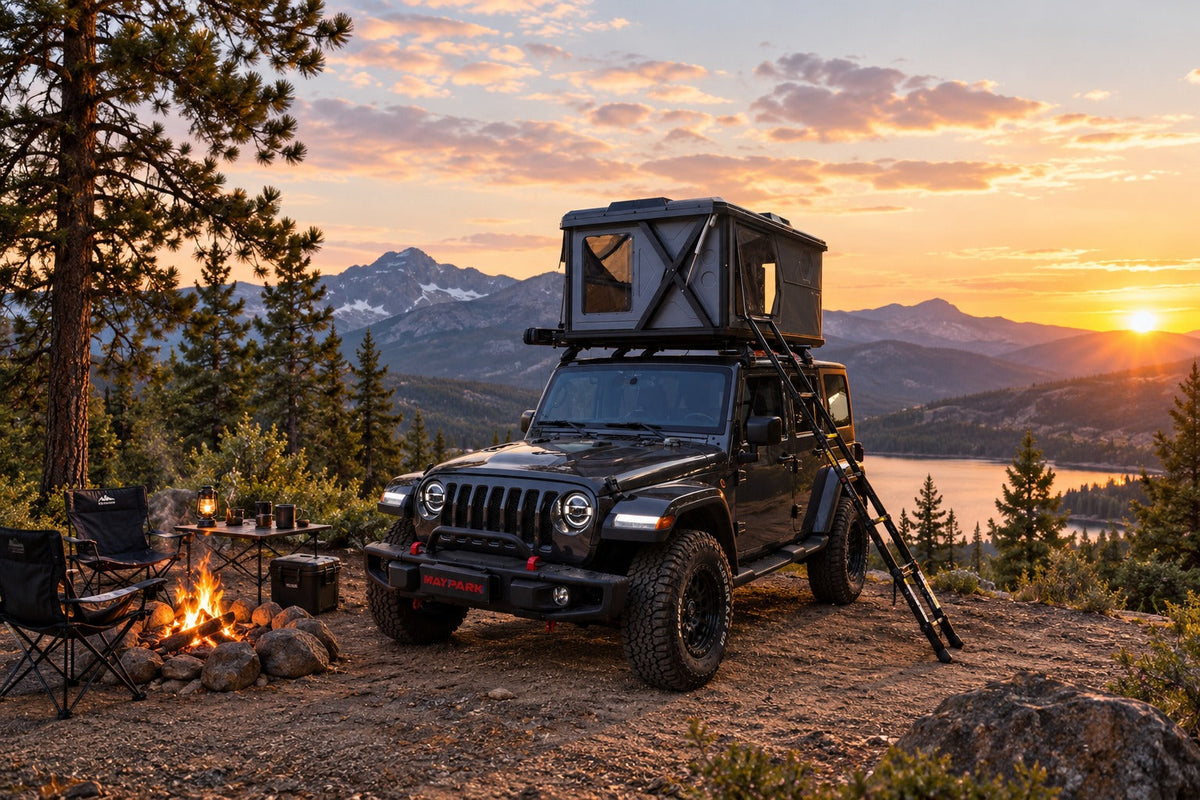



Your rooftop tent arrives in a crate, and the roof rack on your vehicle is where the real setup happens. The good news: hard shell tents are the easiest type to live with once mounted. Most open in a couple of minutes, and closing is the reverse. This guide walks through the whole sequence, from bolting the tent on for the first time to the daily open-close routine, using the GeerTop Aurora as a working example.

Before You Start: Two Checks That Prevent Every Common Problem
1. Roof load. Two different numbers matter. Your vehicle's dynamic roof load rating (the weight it can carry while driving) is almost always far lower than its static rating (weight it can hold when parked). The Aurora weighs 65 kg; add the rack, the ladder at 6 kg, bedding, and two or three occupants, and your rack plus vehicle must carry all of it while parked, but only tent plus rack while rolling. Check both numbers in your vehicle manual and the rack's documentation before buying anything. Our rooftop tent buying guide covers this in detail.
2. Rack compatibility. You need a roof rack or crossbars rated for rooftop tents, with correct bar spacing to match the tent's mounting tracks. The Aurora's base includes mounting channels designed for standard bars; confirm bar spacing against the manual before lifting the tent.
Stage One: Mounting the Tent (One-Time Setup)
1. Recruit a second person. The tent body weighs 65 kg. Two people can lift and place it; one person should not try.
2. Lift the tent onto the rack. Set it down centered, front to back, with the opening (ladder end) where you want access. Most people mount the ladder at the vehicle rear.
3. Fit the mounting plates and bolts. The included hardware pack contains mounting plates, bolts, and washers. Pass bolts through the base channels into the rack bars, add the plates underneath, and hand-tighten everything before final torquing.
4. Torque to the manual's specification. Follow the exact torque values in the user manual, and re-check them after your first few drives. Vibration loosens hardware initially; a re-torque at 50–100 km and again after the first trip is cheap insurance.
5. Test drive. Take a short drive at moderate speed, listen for movement, and check the mounting hardware afterward. Once it passes, the tent can stay mounted season-long; the aluminum shell protects the fabric inside.
Stage Two: Opening at Camp
This is where hard shells earn their price. With a semi-automatic hydraulic system like the Aurora's:
1. Park level. Choose the flattest spot available. A level tent means a level mattress, and you will notice the difference by morning.
2. Release the latches. Unlock the travel latches on both sides of the shell. On the Aurora, the latches secure the shell for transport; releasing them is the only real "work" in the whole setup.
3. Lift the top shell. Push up, and the hydraulic struts take over, raising the shell into the open position. One person can do this. The tent unfolds to 230 × 230 × 162 cm with an interior of 203 × 123 × 151 cm.
4. Set up the blackout curtain poles. The four support poles hold the blackout cover over the transparent PC roof panel. For daytime, leave the panel exposed for light; for sleeping, extend the curtain across.
5. Deploy the ladder. Extend the 2.6 m telescoping aluminum ladder, lock its sections, and clip it into the mounting point. The Aurora has ladder mounts on three sides, so you can position access wherever your camp layout needs it.
6. Flip the interior switches. Turn on the tri-color LED strip (warm light for evenings), open or close window covers for airflow, and drop your bedding in. From parked to fully open, plan on a few minutes the first time, less once the sequence is familiar.
Stage Three: Closing Up
Closing is the mirror image, with two tips beginners miss:
l Clear the fabric. Before lowering the shell, tuck any bedding, curtain poles, and loose fabric fully inside. A zipper caught between the shells is the most common self-inflicted damage on hard shell tents.
l Push down evenly and latch. Compress the shell evenly from both sides until it seats, then engage all travel latches. Do not drive with any latch unsecured; the shell should feel solid with zero rattle.
l Stow the ladder inside per the manual's instructions, so it travels locked and quiet.
Beginner Mistakes to Avoid
1. Skipping the re-torque. Bolts loosen slightly on early drives. Check them after the first trip, then periodically.
2. Closing with the blackout curtain bunched. It pinches and wears. Fold it properly every time.
3. Forcing the shell in cold weather. Seals and fabric stiffen below freezing; release latches and lift with steady pressure, not a jerk.
4. Parking under trees without looking up. Branches and sap are the two most common ways to mark a new aluminum shell and PC panel.
5. Ignoring condensation setup. Ventilate a crack even in cold weather; the anti-condensation mat under the mattress helps, but airflow does the heavy lifting.
Caring for the Transparent Roof Panel
The PC roof panel needs different care than the aluminum around it. Keep the protective film off once the tent is in use (it is only for shipping), clean the panel with a soft cloth and water, and never use abrasive pads or solvents. Per GeerTop's product documentation, the panel assembly has passed high and low temperature, vibration, and aging tests, so ordinary weather and road vibration are within its design envelope. Scratches from bad cleaning habits are not.
First Trip Checklist
l Roof rack and mounting hardware torqued and re-checked
l Latches open and close smoothly; travel latches all engage
l Ladder locks and seats correctly at your chosen mounting point
l LED strip, blackout curtain, and window covers all operate
l Bedding fits inside when the tent closes
That is the whole routine. Once mounted, a hard shell like the Aurora opens in minutes and closes the same way, trip after trip. If you are still choosing a tent, start with what's included in the Aurora box and the full Aurora review, or go straight to the GeerTop Aurora product page to check current pricing.